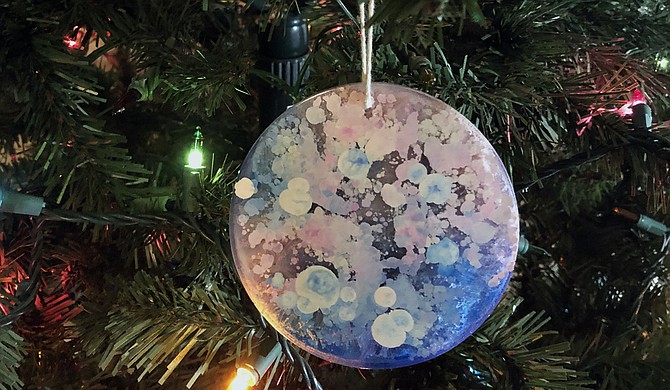
Photo by Amber Helsel.
If you've been on Instagram lately, chances are you've probably seen artists who create ornaments, key chains, and more using resin and alcohol ink. It sounds like intimidating crafting, but it's not as hard as you may think.
Materials
Two-part epoxy resin (ArtResin and Art 'n Glow are two of the best choices for this)
Three old measuring cups
Tongue depressors or jumbo craft sticks
Round-disk silicone baking mold
Nitrile gloves
Timer (can use the one on your phone)
Butane torch (optional)
Alcohol inks in different colors
White alcohol ink
Something to cover the resin mold with
Drill
String or wire
Directions
Put on the gloves and make sure you're wearing clothes you can ruin.
Pour the same amount of resin and then the hardener into two different measuring cups. After that, pour the resin into the third measuring cup. Once you're done pouring that, pour the hardener on top.
With resin, you want to measure by volume, so make sure the levels are even. You can use a scientific scale for this, but I did not. Scrape the cups with a tongue depressor as needed. The key here is to measure out the exact one-to-one volume. The mixture being even a hair off could affect the curing process.
Set a timer and stir the mixture for three to five minutes. Stir slowly with one of the tongue depressors in circular motions, occasionally stirring up from the bottom. Slowness is the key here. If you go too fast, you'll create bubbles. The mixing time depends on how much resin you have, but don't go more than five minutes.
Once the resin is mixed, pour it into the mold, but be careful not to pour too much into each cavity. I generally stop about half way or a little after that, depending on what I'm doing. Use a butane torch on bubbles.
At this point, you can take off the gloves (trust me—you don't want to get resin on your ink bottles) but make sure not to touch the resin with your bare hands. It's super sticky, and really only comes off with rubbing alcohol or a super-heavy-duty soap. Put drops of one color onto one cavity of resin, then another color. After that, put white drops on top. This creates a mushrooming effect with the ink. Keep following that process until you're done (but make sure not to overdo it). Also, check the label on the resin for working time.
Once you're done, find something to cover the resin mold with. I use an old painting to cover mine, but boxes work as well. Just make sure it's covered. Resin takes about 72 hours to cure. To check and see how it's doing, lightly touch the surface with one of the tongue depressors.
Once the piece seems fully cured (aka not sticky), pop it out of the mold. At this point, you may have to put more resin or some type of non-streaking gloss varnish on the other side if the product is cloudy. For resin, follow the steps above and let it dry for another 48 to 72 hours.
When it's completely cured, gently drill a hole near the top of the ornament. After that, put string or wire through it and tie the ends together. Voila. You now have a beautiful ornament to add to your tree or gift to someone.


Comments
Use the comment form below to begin a discussion about this content.
comments powered by Disqus